

Complete Turnkey Installation and Interface
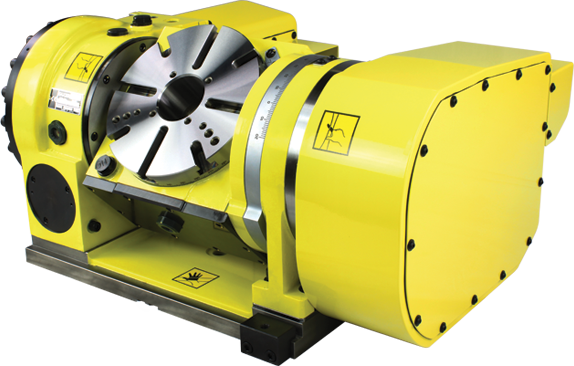
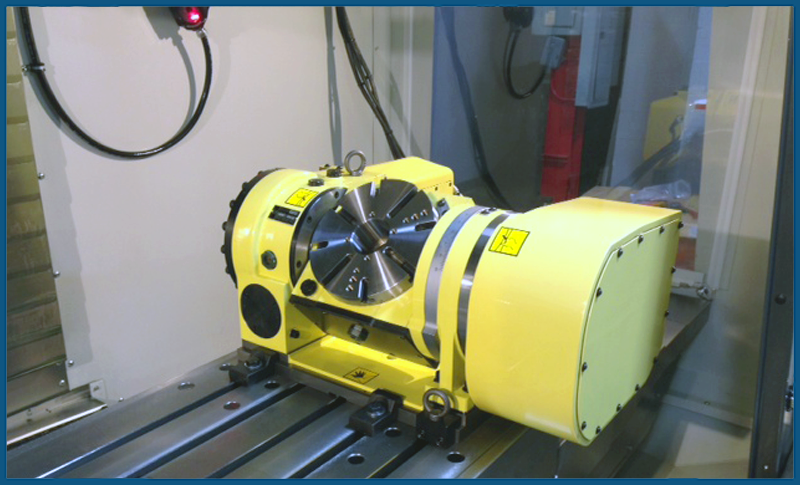
Lyndex-Nikken is the only rotary table manufacturer to offer complete interface and installation on FANUC controller machining centers. You can rely on us to provide a clean and professional installation which will look as if it came directly from the factory.
We guarantee a seamless integration with your machine tool and CNC control, whether a 4th or 5th axis, on vertical or horizontal machining centers.
Examples:
5AX-200II on Mori Seiki DV5100
5AX-201 on Makino
5AX-201 on Brother TC-2SD
A team of experts dedicated to provide 100% customer satisfaction
Lyndex-Nikken’s regional managers can guide and assist you with proper table selection that will suit your machine and application. With over 500 rotary tables successfully installed throughout North America, our dedicated team of factory-trained application and engineering technicians can offer additional support with machining expertise and systems integration.
The Highest Quality Hardware and Components
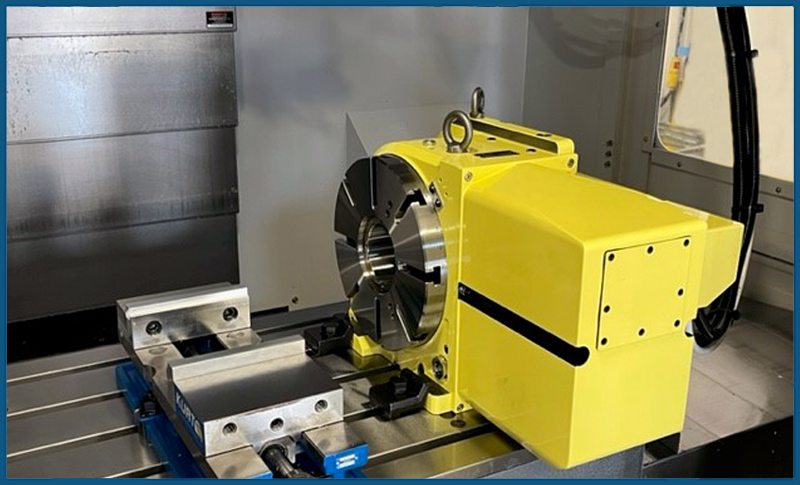
We use only superior hardware and components to guarantee the best results and a trouble-free long life for our products.
- Genuine FANUC parts
- Genuine FANUC option parameters
- Cut and wear resistant Waterproof Cabling
- Cable management
Factory Clean Installation
Our service includes the following:
- Drive Installation
- Parameter Changes
- Communication Cables
- Table Installation
- Fiber Optic Cables
- Documentation
- Bulkhead Cable Set
- External Cable Installation
Rotary Table installation process

Step 1
Electrical Cable Setup
- Mount cable kit and air line plate onto sheet metal
- Plumb the electrical cables to the electrical cabinet

Step 2
Amplifier Installation
- Mount FANUC amplifier and fiber optic cables
- Set parameters to turn on additional axes

Step 3
Rotary Table Setup
- Install rotary table for fine tuning
- Install brake clamp and unclamp buttons on control panel
For more information regarding our installation and interface services, please contact our office or call us at (847) 367-4800. Our engineering staff is ready to answer all your questions.